InfraRed LED WaterMark
EOYS Poster Design
Problem Statement
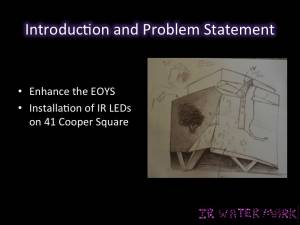
Every spring, The Cooper Union hosts its End of Year Show (EOYS) to showcase projects from each of its three schools, Art Architecture and Engineering. However, the event is confined to a very small space on campus and is not well known throughout New York City. Our intentions are to draw attention to the school and its EOYS show by creating truly exceptional project that will be appreciated by the public, not just the Cooper community.
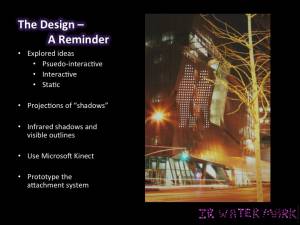
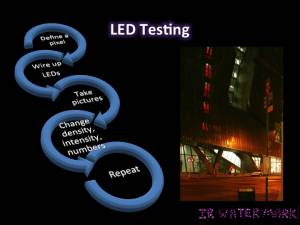
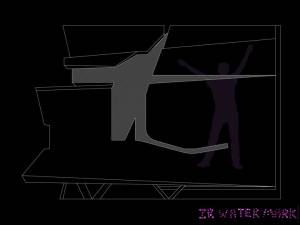
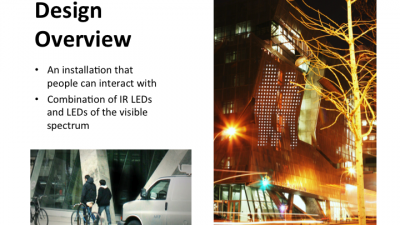
To accomplish this goal we will utilizes infrared LEDs to display a unique and interactive design on the perforated mesh skin of the New Academic Building for the EOYS. A project of this magnitude, combined with its interactive nature, will attract the public to the EOYS and raise awareness of our institution and its talented community.
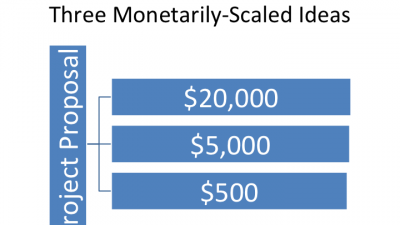
A proposal and prototype of our design will be completed by the middle of the semester. Because The Cooper Union will be funding this large project, a board will be responsible for determining if the design has fulfilled its intentions based on how much funding we receive.
Introductory Video
This video will help introduce you to our project.
Team Members
Click a member's photo to access their personal webpage:
————————— Peter Ascoli —————————————————————– Jenna Lee ———————————————— Wojciech Syta ——-
Group Assignments
Assignments due for class can be found here
Minutes
Put a link to your meeting minutes pages here and populate it with your first meeting minutes.
Timeline
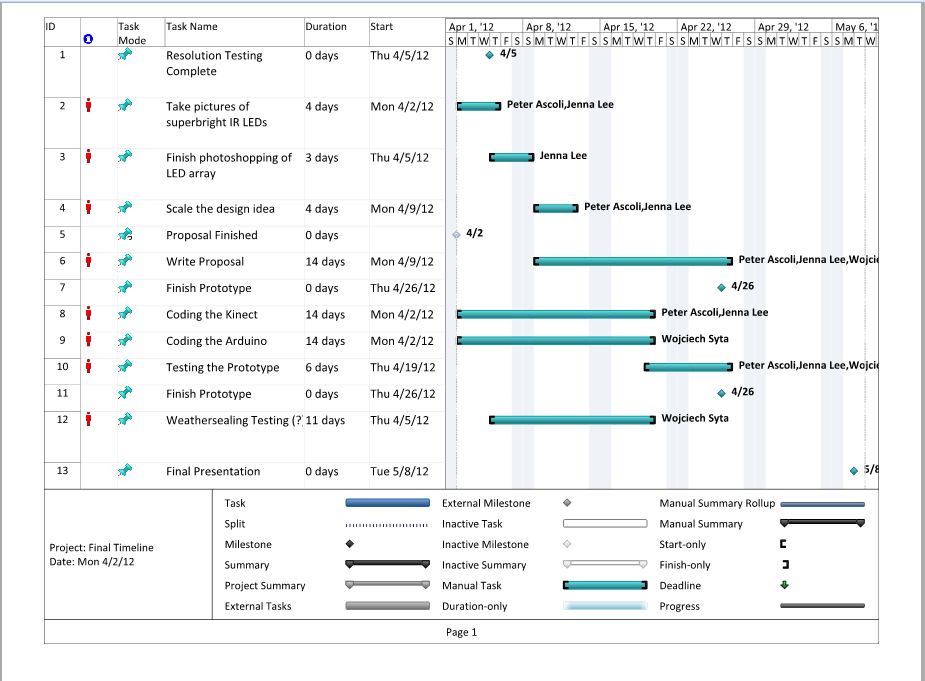
This is an updated timeline outlining our new plan for the rest of the semester due to the recent update to our project. The old timeline can be found here: Old Timeline
Schedule
Put your initials in the time slots you are not free.
| Monday | Tuesday | Wednesday | Thursday | Friday | |
|---|---|---|---|---|---|
| 9:00 | JL WS | PA | PA JL WS | JL | |
| 10:00 | JL WS | PA | PA JL WS | JL WS | |
| 11:00 | PA JL WS | JL WS | WS | PA JL WS | PA WS |
| 12:00 | PA WS | JL WS | PA | PA JL WS | |
| 1:00 | WS | JL | JL | ||
| 2:00 | PA WS | PA | PA JL WS | EID103 | |
| 3:00 | PA JL WS | PA WS JL(on exam days) | |||
| 4:00 | JL | PA | Group Meetings | ||
| 5:00 | PA | Meetings with mentors | |||
| 6:00 | JL WS | PA | PA WS | EID103 | |
| 7:00 | JL WS | PA | PA WS | EID103 | |
| 8:00 | JL | PA | PA | ||
| 9:00 |
Proposal
Progress
IR LEDs on our EOYS model http://www.youtube.com/watch?v=0bvI9oPXT20&feature=youtu.be
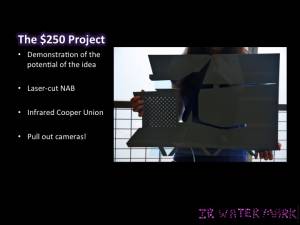
Final Presentation Slides
Latest Developments with Prototype
Acrylic NAB (EOYS Piece)
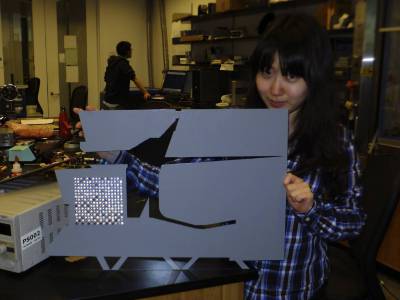
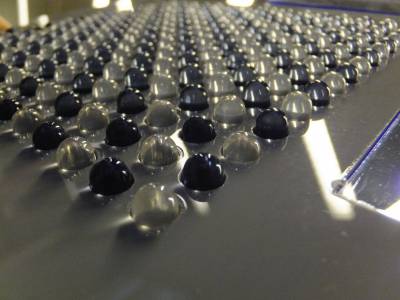
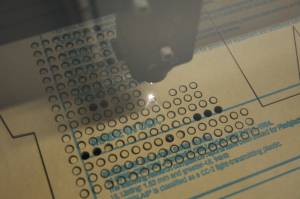
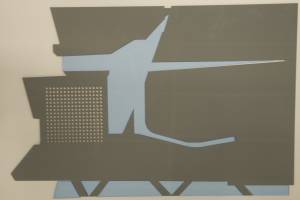
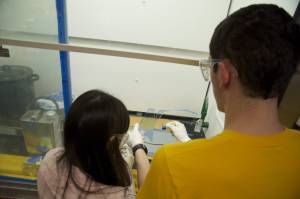
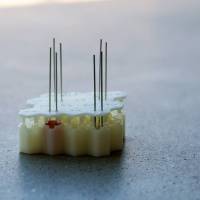
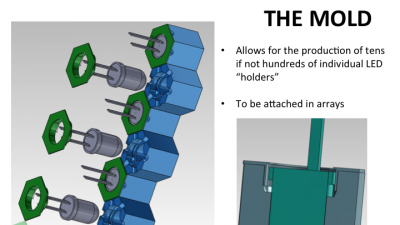
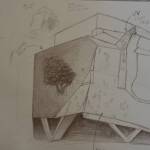
For the final we are making an acrylic mold of the building, to house an IR LED matrix in order to demonstrate the design we looked into during the semester
————————-In the laser cutter—————————————————- All of the pieces———————————————–Bonding the acrylic sheets——————–
Kinect Videos
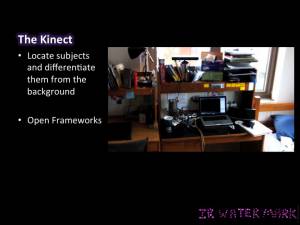
A video of the first Kinect test: http://www.youtube.com/watch?v=TGH4IvOli5A&feature=youtu.be
The final (the good stuff starts at 0:30) : http://www.youtube.com/watch?v=1WG_irheNww&feature=youtu.be
BIG THANKS to Dale Short for his assistance with setting up the Kinect!
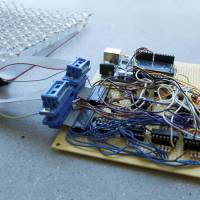
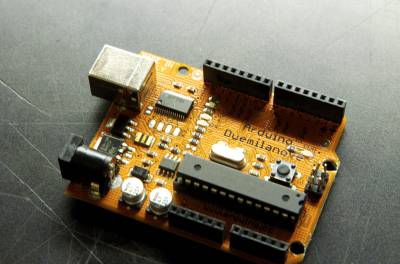
The Mold and Arduino Components
Interactive Display Prototype
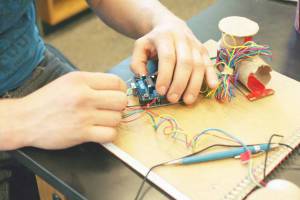
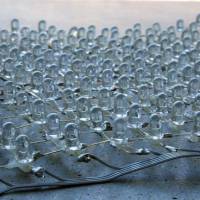
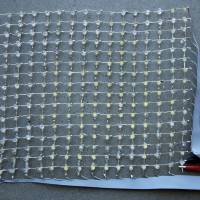
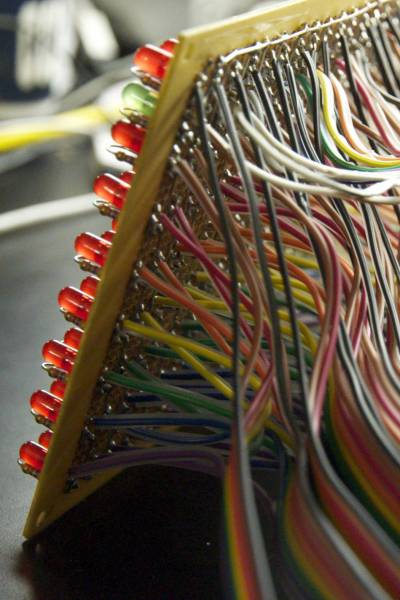
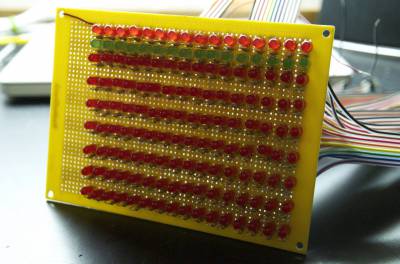
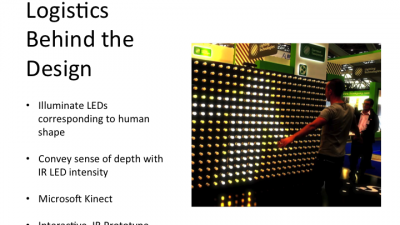
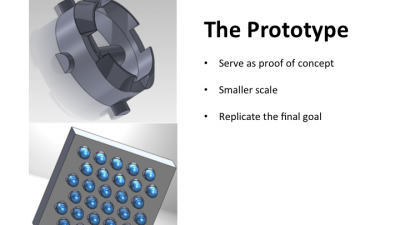
The goal of this small prototype is to demonstrate the interactivity element of our design. The prototype will feature an 8×6 grid of LEDs and a symmetrical grid of distance sensors. As the user moves their hand (or a few fingers) across the grid of distance sensors, the Arduino will turn on the corresponding LEDs, thus illuminating the shape of the hands/fingers.
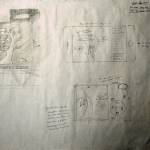
A general schematic is shown here, distance sensors connected to multiplexers, which are connected to the Arduino, and LED outputs, which are also controlled by multiplexors. The overall idea of the Arduino program and logic are as follows: The Arduino will cycle through 000-111 (binary) for the adress lines, which are connected to each MUX. The output of the MUXs connected to the distance sensors serves as inputs to the Arduino, each being recorded and assigned a variable (such as AA=MUX1,000; AB=MUX1,001; … ; BU=MUX6,111). The Arduino will then cycle through the appropriate address values for each MUX so that the corresponding LEDs will turn on. Of course this process will be looped.
Although this all should be happening on the order of picoseconds, and therefore flickers shouldn't be visible to the naked eye, preliminary tests will be done with just one LED and one MUX to make sure that the flicker caused by cycling through the address lines is not visible.
Special thanks to Alex Novoselov and Jackie Song for graciously letting us borrow the LED matrix from their DLD final, saving us from almost 24-hours-worth of soldering!


