IR Water Mark
This link will take you to the page dedicated to work for the semester-long project. Here you will find pictures, videos, timelines, minutes, etc.
Below is some highlighted work I completed for the project.
IR LED Logo
Once we received our first batch of infrared LEDs for taking pictures on the street, I decided to make the group name out of the IR LEDs. I constructed each word individually, one after another on the same breadboard. After making sure each LED was wired up to power and connected to power with a resistor, I connected the battery, shut of lights in the room and snapped a few pictures. Jenna Lee then photoshopped the final image of each word together for me.
Project Timelines
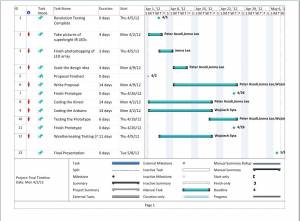
Ganesh and Rafale put me in charge of creating timelines for the team. I would meet with Jenna and Wojciech to discuss how long it would take them to complete various roles that they were assigned for the project. User Microsoft Project, I would then create timelines to catalog what each member, including myself, would be responsible for completing and the allotted times. At our weekly meetings with Tiger Party we would look at what has been accomplished and what in the timeline needed to be update for next week due to changes in our project our parts taking longer than predicted to complete.
Organizing the Project Proposal
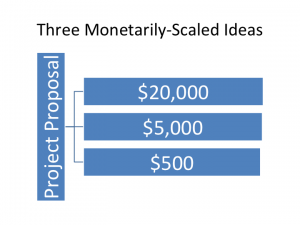
Before the major change in our project at the end of the semester, I began writing and outlining the proposal for the rest of the group. The link is as far as I got before the change. A large portion would have been complete after Jenna finished the resolution testing, unfortunately that is what led us to discover how unfeasibly creating this idea with LEDs truly was.
A link to the proposal.
Assistance Determining the Aesthetic Design
Jenna and I spent the first few weeks of the semester narrowing down the aesthetic design for the project. We worked together, with the help of Ganesh at The Tiger Party exploring different interactive ideas.
Kinect
I was in charge of obtaining the shape of human contours. Research for similar projects online yielded that the Kinect was the best option. Here are videos after programming the Kinect to display the contours. Big thanks to Dale Short for his assistance with setting up the Kinect connection with the compiler.
A video of the first Kinect test: http://www.youtube.com/watch?v=TGH4IvOli5A&feature=youtu.be
The final (the good stuff starts at 0:30) : http://www.youtube.com/watch?v=1WG_irheNww&feature=youtu.be
The Model
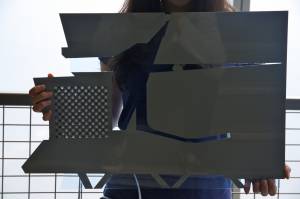
Jenna and I designed the AutoCAD files, laser cut, and solvent welded the model!


