Digital Logic Design
Assignment 1: Comparitor
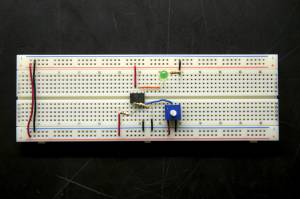
Our first assignment for the class utilized an Op-Amp to compare to voltages. Using resistors, one of the inputs was connected to 2V while the other input utilized a potentiometer. The potentiometer varied the voltage to the second input from 0V-5V. When the input was between 2V-5V the LED turned on.
Assignment 2: Alarm System
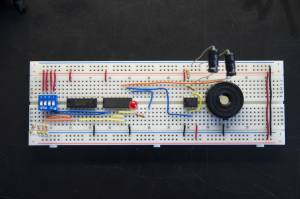
The dip-switch in this project serves as the input to the system. The dip switch creates a 4 bit number ranging from 0-15 in decimal. For certain in this range an “alarm was triggered.” In reality, when one of these inputs was selected using the dip-switch, the speaker sounded.
Assignment 3: Missile Launch with Servo Extra Credit
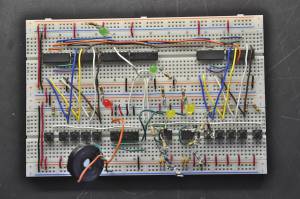
Dubbed “Missile Launch” for its requirement for multiple inputs, this project was designed to run a servo motor. On the board are two keypads (consisting of four push-buttons each) with two master keys (two other push-buttons). Each keyboard requires a certain input from a set of inputs to run the motor. An input from set A must be pressed on one keyboard while and input from set B is pressed on the other, as well as the depression of the two master keys to run the motor. The triggering of these outputs allows 555 timers, which are connected to a multiplexor, to turn a servo by alternating frequencies. A speaker is hooked up to where the servo connects since it allows for simple detection of the change in frequencies by simply listening, rather than testing with an individual servo.
Midterm Project: Mastermind
For my midterm project I decided to build the game Mastermind. My version would consist of four spaces (four bits) with two color options (high or low). Two seven segment displays would then display the number of white and black pins by putting both the guess and master patterns (created with dip-switches) through logic.
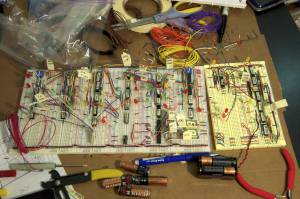
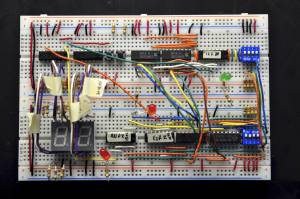
The first image depicts what I set out due do after about 40 hours worth of building.
Unfortunately, in order to perform the analysis for the right-color-wrong-location pins I needed to simplify 6 bit logic, which required a tremendous amount of wiring. I began to run into intermediate voltages because of voltage drops as I added on more and more chips and wires. I discussed the problems I had with my professor and he told me to just get the right-color-right-location situation working.
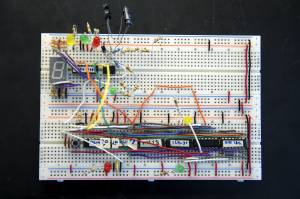
Above is the final version of my midterm project. Notice how the right-color-right-location situation fit on two breadboards, while I though I would need at least 12 breadboards to hold the finished right-color-wrong-location situation.
Assignment 4: Three Number Transition
This project introduced the class to state changes. Using D-flip-flops this circuit cycled between the numbers 0, 4, and 1 in one second intervals. Outputs of the flip-flops were connected to a seven-segment display driver to show the selected number on a seven-segment display.
Assignment 5: Traffic Light Intersection
This was our first design project. The goal was to create a traffic light for a small intersection. We were given the criteria and then had to figure out how to implement flip-flops and logic to turn on the correct traffic lights for different period of times according to 555 timers.
The intersection consists of a traffic light for a main street and a side street. The main street stays green for at least twenty seconds. After twenty seconds, if no car has been detected on the side street, the main stays green until one is. Once a car is detected, the main transitions to yellow for five seconds, then red, while the side goes green. The side stays green for a maximum of twenty seconds or until a car is no longer detect, which the traffic lights then transition, to yellow for the side, to red for the side and green for the main. One final criteria was that even if a car was detected within the minimum twenty second for the main green, it would not transition to yellow and then red until after twenty seconds even if a car was detected.
A simple dip-switch was used as the car sensor initially, and then changed to an IR LED and receiver.
The project introduced us to the design of state changes and the monostable set up of 555 timers.
Assignment 6: Universal Receiver
The second-to-last assignment, was given the name “Universal Receiver” for only having one switch as the input. The assignment was to have the first push initialize the system, wait one second, and then input 4 bits every other second and then the system shuts down but saves and displays the bits. The four bits include three data inputs and one parity bit. Combinatorial logic was implement to determine if the parity bit matched the corresponding data, if it did the green light would turn on.
My system worked the following way, the initial press fired a one-shot 555 and a monostable 555. Every other second the monostable would clock in the input bits to a shift register which after the required 8 seconds would display the four bits on the red LEDs.
Final Project: Laser Tag
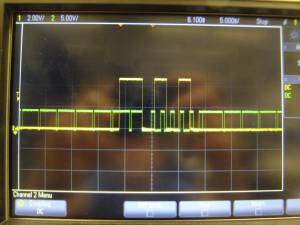
An example of one of the wave forms sent by the gun and collected by the vest.
Laser beam reflecting off of a tin foil paraboloid to assist a phototransistor in detecting the beam.
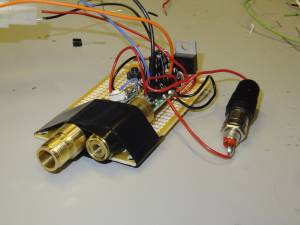
The technical set up to fire the laser.
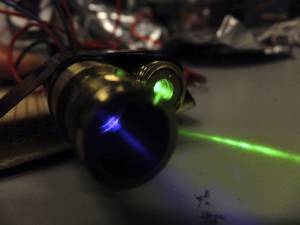
The purple, targeting beam (its light intensity is not high enough to trigger the phototransistor)and the laser for firing, the green one, which the phototransistor can detect.
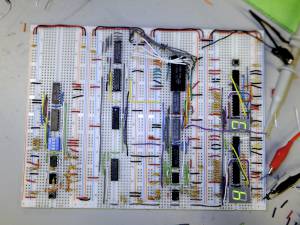
The DLD components of the gun (leftmost breadboard) and the vest (the three right breadboards).
Here is a video of the final project: http://www.youtube.com/watch?v=4KyAPuEu-nU
