Photographs
Photographs taken from Lab Work
February, 2012
Wednesday, 15th
DNA transformed bacteria growing in a petri dish.
Below is my petri dish; the bacteria (with JM109 coding DNA) is growing in Agarose gel with ampicillin. This was practice with spreading.

Tuesday, 21st
Bacteria culture separated into a single colony.
Below is my petri dish; a sample of the bacteria (with JM109 coding DNA) is taken from its original sample and spread out using streaking.

March, 2012
Friday, 2nd
Below are photographs of the test tubes after completing the protocol for forming the CdS. Seven test tubes were set with different variables to identify potential various elements affect the CdS formation.
The samples set were: -Sample 1: Bacteria, CdCl2, Na2S, IPTG, 3 hrs.
- Sample 2: No bacteria, CdCl2, Na2S, IPTG, 3 hrs.
- Sample 3: Bacteria, CdCl2, Na2S, IPTG, 2 hrs.
- Sample 4: Bacteria, CdCl2, Na2S, IPTG, 1 hr.
- Sample 5: Bacteria, CdCl2, IPTG, 3 hrs.
- Sample 6: Bacteria, Na2S, IPTG, 3 hrs.
- Sample 7: Bacteria, CdCl2, Na2S, IPTG, 3 hrs.
(Note: Sample 1 is directly from Mi et. al. and previous year's iGEM project's protocol and sample 2 is a negative control.)


Photographs of the SDS page
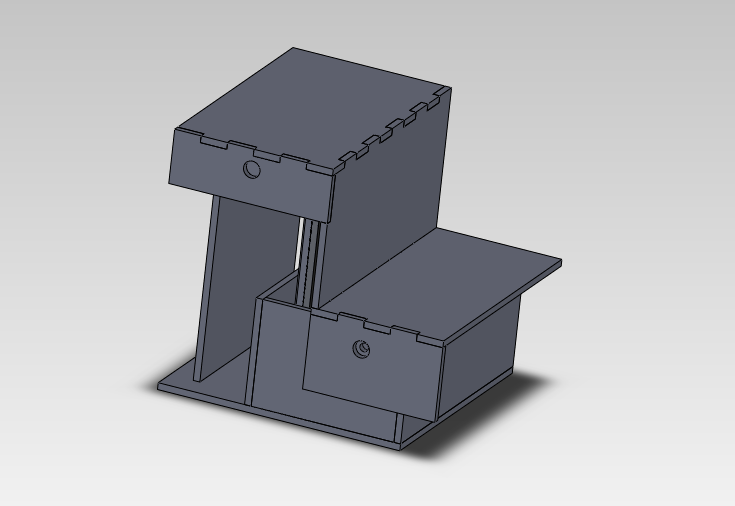
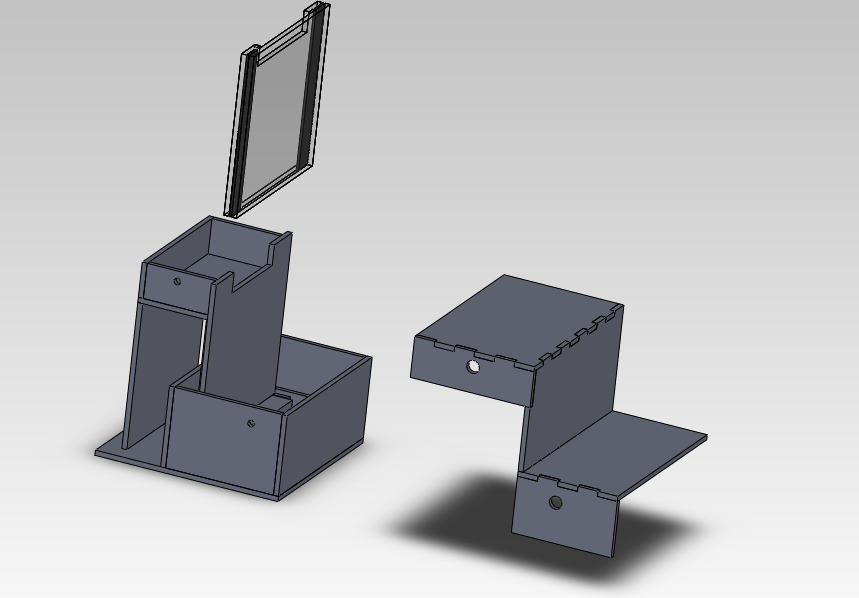
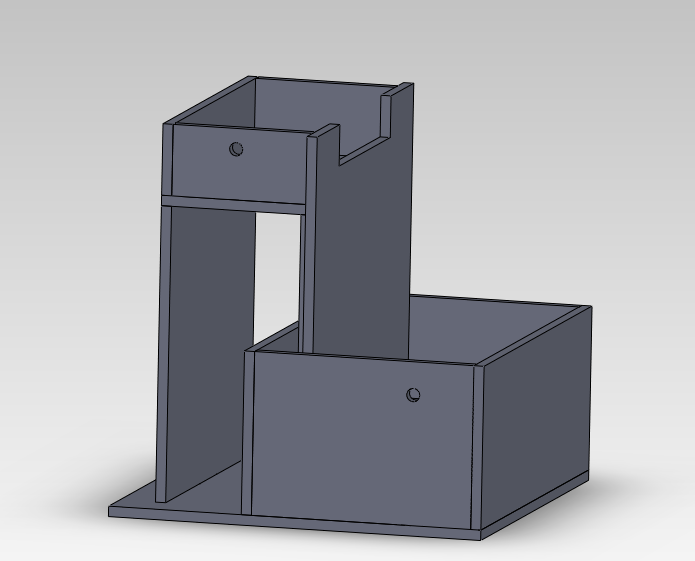
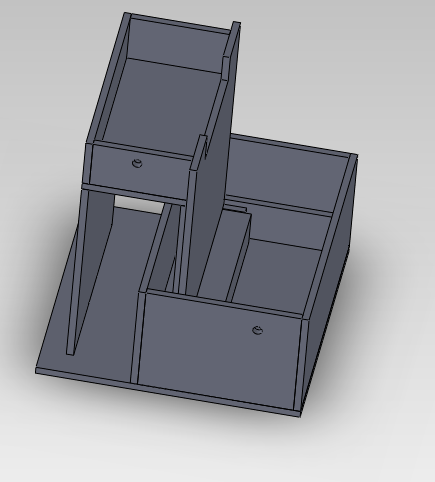
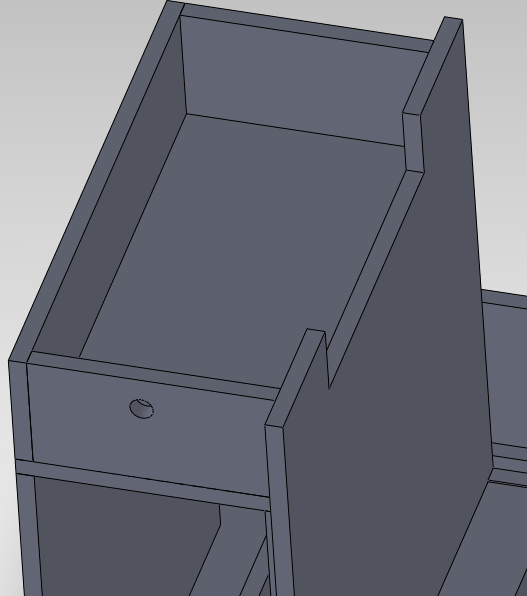
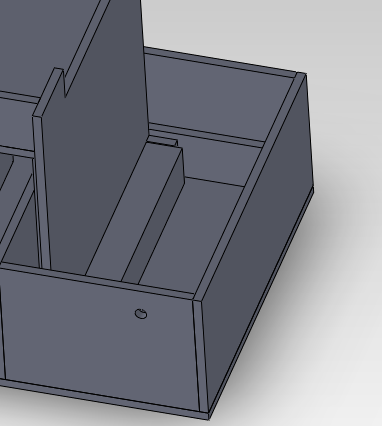
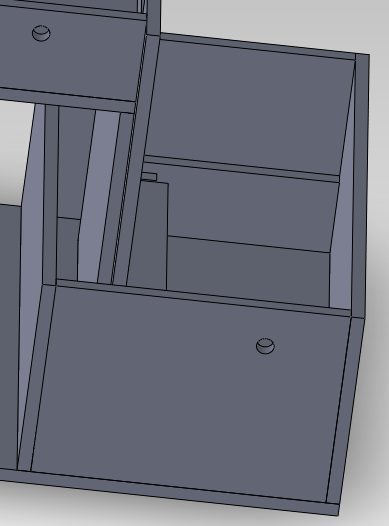
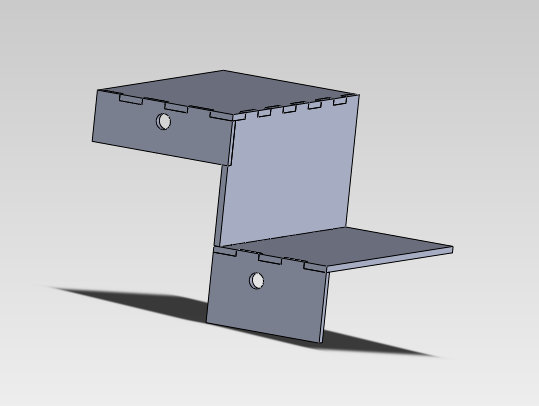
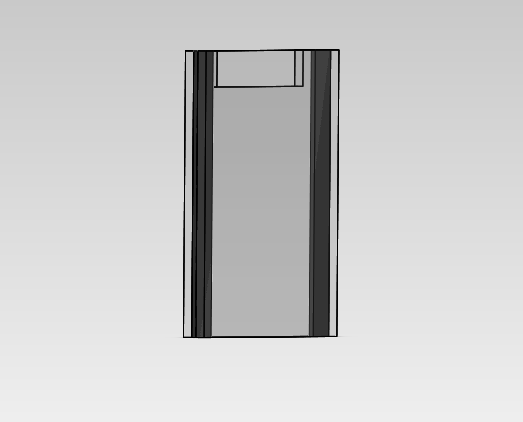
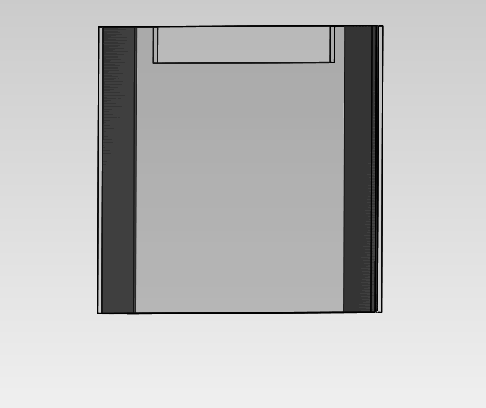
3D Modeling
Below are images of the SolidWorks model of the SDS PAGE. The model was done with my partner, Eric Ramos, and under the supervision of our mentors: Dionne Lutz and Alison Acevedo. From left to right: a view of all the parts in place, an exploded view of the parts, two photographs of the main box structure, a view of the top chamber, two views of the bottom chamber, a view of the cap structure, and two views of the gel containing structure.
Laser Cutting
Below are pictures of our design being cut in .125 in. thick acrylic plastic.


Temporary Structure
The model was temporary taped (shown below) to have a better 3D visual. The taping process will directly affect the gluing process.

Gluing the Model
Below are pictures of the gluing process.


Wiring and Testing
Below are photographs taken over two days. From left to right: two photographs of wiring the SDS PAGE, two photographs of preparing the 1% agarose gel, gel at pre-loading state, initial loading state, time and voltage at beginning of experiment, final state of gel, time and voltage at end of experiment.


Back to Yuta Makita