Arduino Communication with PreSens Oxy10 Transmitter
This is a help wiki demonstrating how to communicate with the PreSens Oxygen Transmitter via Arduino. This page is also demonstrates how to modify the code and communication for other PreSens transmitters.
The PreSens system used in this wiki is an optical oxygen sensing system. It is very useful for research purposes because, being an optical sensor, it is non-invasive; the oxygen sensing depends only on the interference between oxygen molecules and the light signal passing through them. The transmitter delivers and receives these light signals. Communicating with the device with open source Arduino software will make it even easier to use for research.
Contents of this Wiki
1. List of Items You Will Need
2. Constructing the System
3. Installing Arduino Software and the PreSens Transmitter Code
4. Using the Arduino Interface
5. Communication with Sensors
6. Modification of Code for Other Transmitters
List of Items You Will Need
| Items | Notes | Links |
|---|---|---|
| OXY-10 mini, 10-channel fiber optic oxygen transmitter | Included with Transmitter Purchase/Rental | |
| USB cable | Included with Transmitter Purchase/Rental | |
| RS232 cable | Included with Transmitter Purchase/Rental | |
| Power supply (110 - 240 VAC, 18 VDC), German and US power connector | ||
| Sensor that Connects to the Oxy Transmitter | Used in this wiki: Flow-Through Cell Housed Oxygen Microsensor | http://tinyurl.com/cyw43rx |
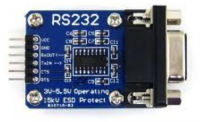
| RS232 Arduino Shield | ||
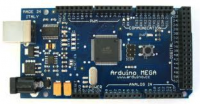
| Arduino Mega | Arduino to PC Cable | |
| Type A to Type B USB Cable | Arduino to PC Cable | |
| Arduino Software | Download this to communicate with Arduino from your mac or pc | http://arduino.cc/en/main/software |
| Calibration Solutions for 0 and 100% Oxygen Concentration |
Assembling the System
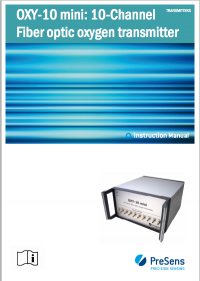
The following image links to the actual PreSens Manual for the Oxy-10 Transmitter, but feel free to simply follow the tutorial that follows on this wiki.
1. Connect fiber optic cables to the channels marked 1 through 10 on the front of your transmitter.
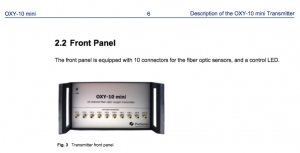
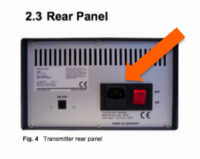
2. Connect the power supply cable (make sure to use the supplied cable).
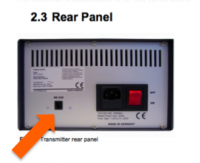
3. Connect the RS232 cable to your transmitter. The other end of the cable will connect to your RS232 shield once it has been altered slightly in the following steps.
4. The transmitter will connect serially through the Arduino Mega. Please follow the following wiring diagram and/or the wiring video to connect your RS232 to your Mega.
RS232 Shield
Arduino Mega
Arduino Mega and RS232 Wiring Diagram and Assembly Video
Wiring Diagram for the Mega and RS232 Shield
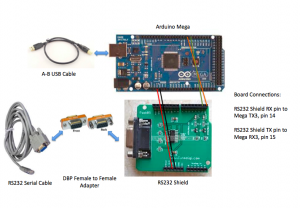
This image links to the assembly video of the Mega and RS232 shield.
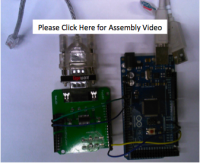
5. Connect the Arduino Mega to your computer and continue to the next section of this tutorial.
Installing Arduino Software and the PreSens Transmitter Code
1. Install the Arduino Software.
2. Download the following text file and copy and past it into your Arduino sketch window. This is the code for communication with the PreSens Transmitter.
Use this code initially to determine if information is transmitting from your transmitter:
check_output_format2.rtf
Use this code to interpret the data string received from your transmitter:
format2.rtf
Using the Arduino Interface
Establishing communication with the Oxy-10 Transmitter is complicated and please click the link troubleshooting to see our efforts to get the communication system working.
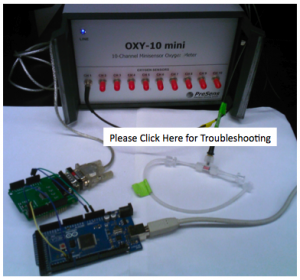
1. The codes designed to establish communication with the transmitter are included in this section, however they are still being troubleshooted. Initially, the codes set the transmitter to Mode 0, a mode in which the transmitter provides constant serial read out of temperature and oxygen concentration information.
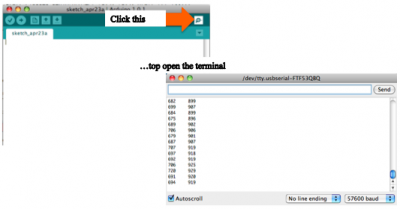
2. The codes then store and process the serial readout from the transmitter. The user inputs two commands into the terminal (commands ‘s’ and ‘t’) that start and stop the transmitter readout.
Input commands and view the serial read out from your Arduino Terminal.
Communication with Sensors
Establishing communication with the Oxy-10 Transmitter is complicated and please click the link troubleshooting to see our efforts to get the communication system working.

