Team Members
Progress
Experimentation with glue
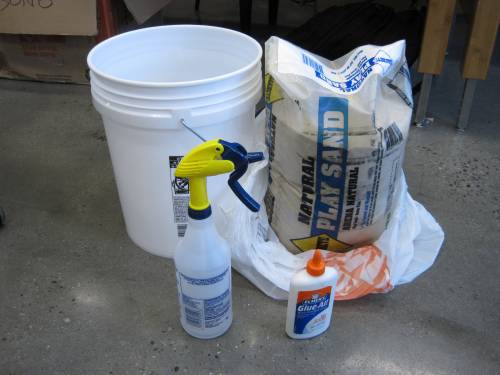
Is it possible to 3D print using only sand, water, and Elmer's glue? Let's find out.
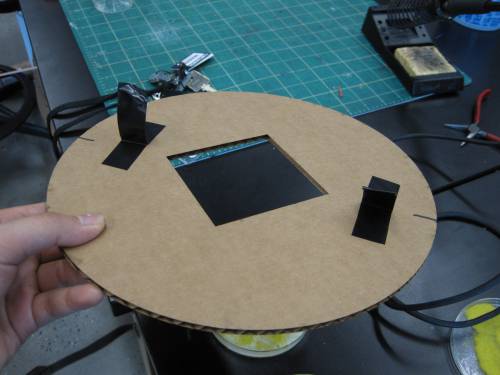
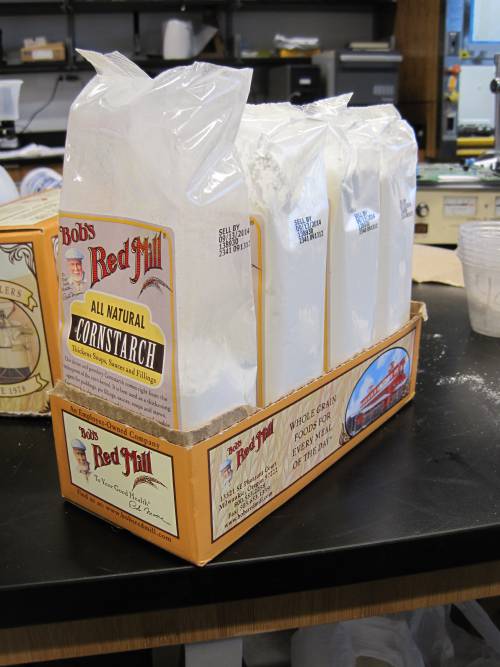
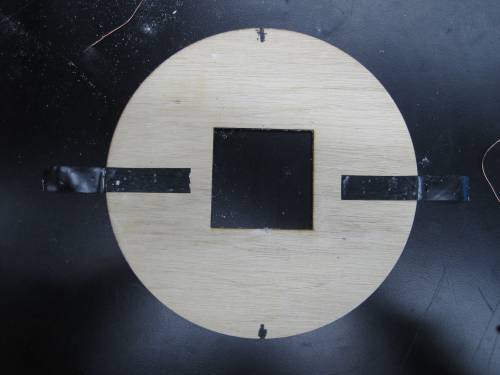
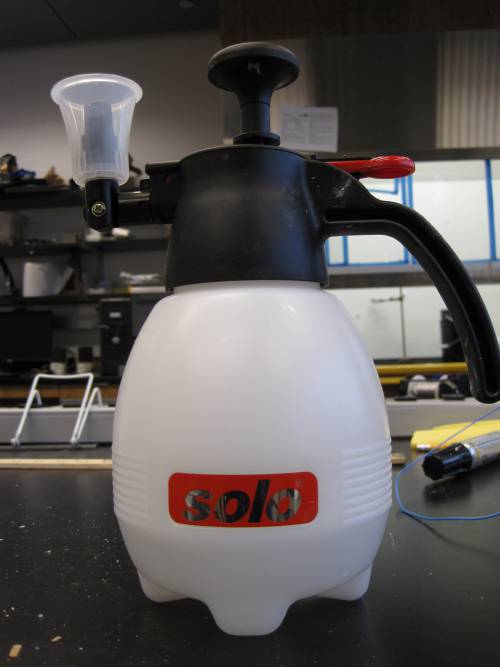
We decided to attempt the same printing method used by the cornstarch printer in the Materials Science lab: a layer of powder is spread flat over the printing area, then inkjet printheads sweep over, depositing a (mostly water) binder in the correct shape; with enough layers, it can build up solid forms. Since we don't have an glue-spraying inkjet system available, we decided to use a spray bottle and a cardboard template to print an extruded square shape. Note the nifty electrical tape handles.
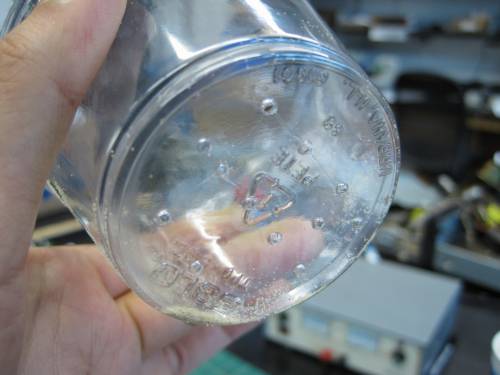
Thin-sheet particulate distribution apparatus. Sand shaker.
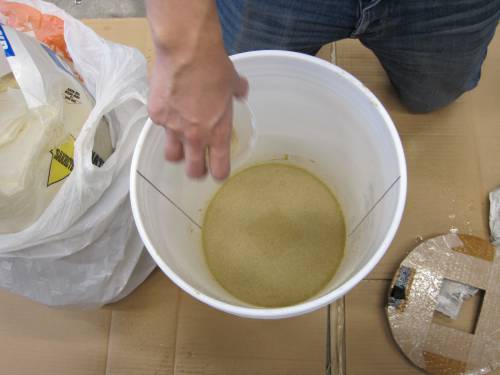
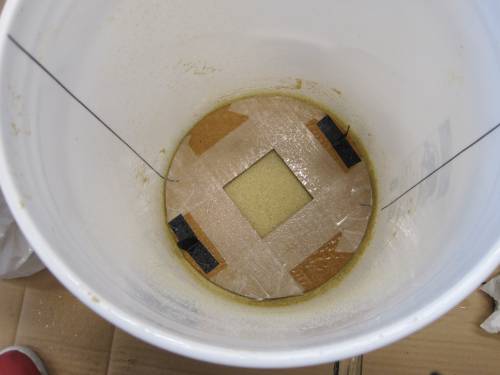
Commence 3D printing! Note the vertical alignment markings on the side walls of the bucket. Also note the faint square shadow of wetness where the glue-water mixture was deposited through the template.
The template in place. Every layer was built up this way. The template was taped up a bit to protect it from the spray, but it's looking soggy already…
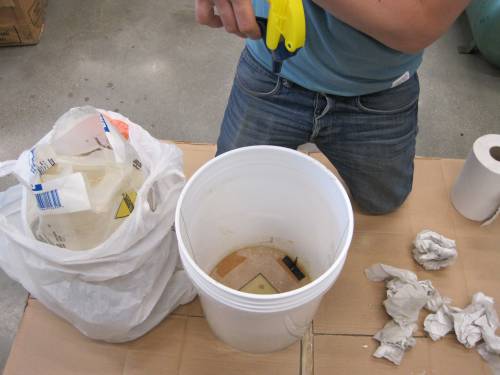
Here's Alex spraying the binder.
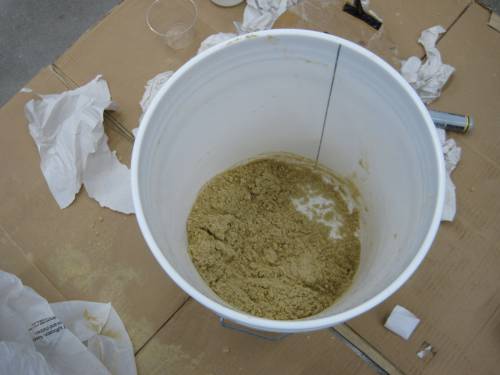
After having built up about 1.5 inches of sand and glue, we discovered that the liquid had simply sunk to the bottom of the bucket instead of staying where we put it. Turns out that sand will not hold onto water the way cornstarch does. Who knew? Well, we did, but only in hindsight - sandy soil is great for drainage, isn't it?
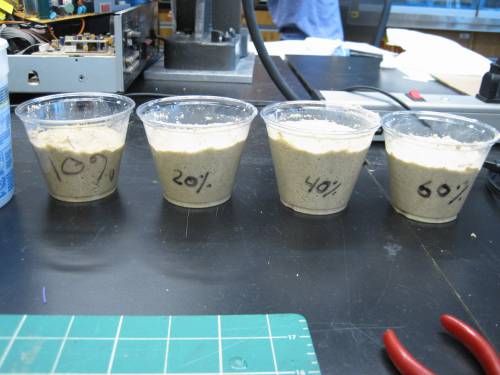
Our first binder solution was pretty watery, because if we made it any thicker it would not have worked with the spray bottle - but too watery, as we found out, meant that the binder would drain right to the bottom of the sand. So here's our slightly more quantitative approach: constant volumes of sand with varying concentrations of glue/water solution. This experiment will give us a better idea of the minimum glue content for a solid result.
New secret ingredient
Not really. We know cornstarch is usable as a kind of binder, because the 3D printer in the Materials lab does just that, and it does a fairly good job.
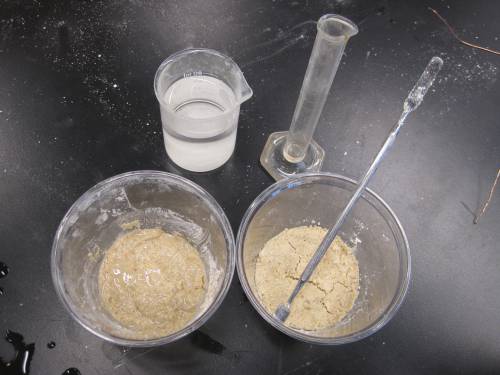
We started by making a simple mixture of sand and cornstarch (about half each, by volume) and saturating it with water. Unlike the glue-sand mixture, which remains sandy and unworkable for hours, the cornstarch mixture forms a kind of dough after a few minutes, which doesn't break down with handling.
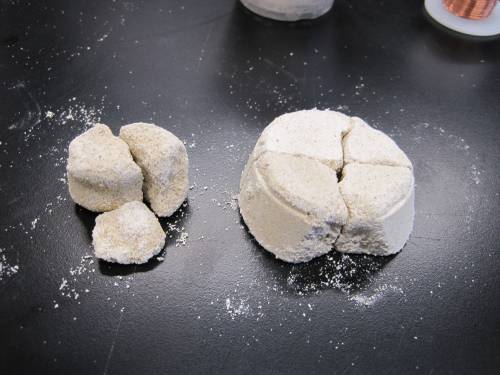
This is what it looked like after two days of drying.
The cornstarch-sand mixture looked promising, so we cut a new template and used the same bucket/spraying/sifting manual 3D printing procedure as before. This time, however, we used a hand-pumped plant mister that provides a much better spray than the trigger spray bottle.
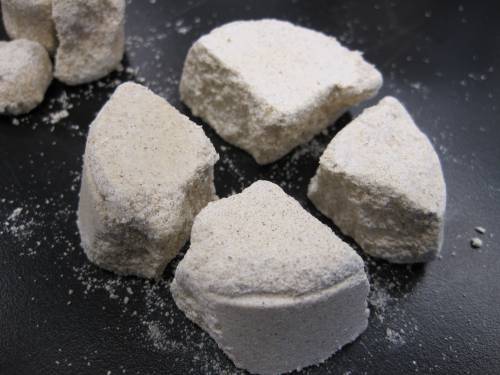
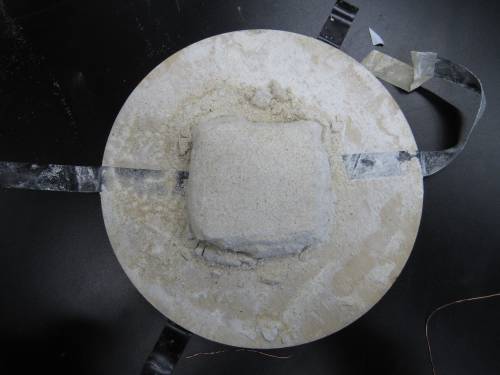
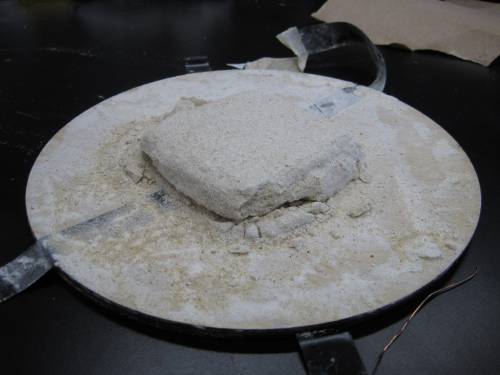
After using up 20 oz of sand/starch and about 10 minutes of waiting (to see if the water would seep into the surrounding powder), this is what we got.
It was difficult to line up the template properly for every layer, so the edges aren't great, but it definitely holds together well.
After two days of drying, it's still in its original state, but it crumbles readily if you aren't careful. This is a good thing, since our end goal is to reuse the material day after day.
Project Description
Top Secret
Schedule
| Monday | Tuesday | Wednesday | Thursday | Friday | |
|---|---|---|---|---|---|
| 9:00 | Jenna | Jenna/Jackie/Alex | Jenna/Jackie | ||
| 10:00 | Jenna | Jenna/Jackie/Alex | Jenna/Jackie | ||
| 11:00 | HSS3 | Ph213 | ESC100M | Ph213 | |
| 12:00 | Alex | Jenna/Jackie | |||
| 1:00 | ESC110M | ||||
| 2:00 | Ph291 | ESC110M | ESC000.3 | ||
| 3:00 | Ph213 | Physics lab | ESC110M | Ph213 | |
| 4:00 | ESC100M | Ph213 | |||
| 5:00 | ESC100M | Ph213 | |||
| 6:00 | Alex | Jenna | Jackie/Alex | ||
| 7:00 | Jackie/Alex | Jenna | Jackie/Alex | ||
| 8:00 | Jackie | Jenna | Jackie/Alex | ||
| 9:00 |
